Learn Audio Mixing: A Step-By-Step Guide
Learn Audio Mixing: A Step-By-Step Guide
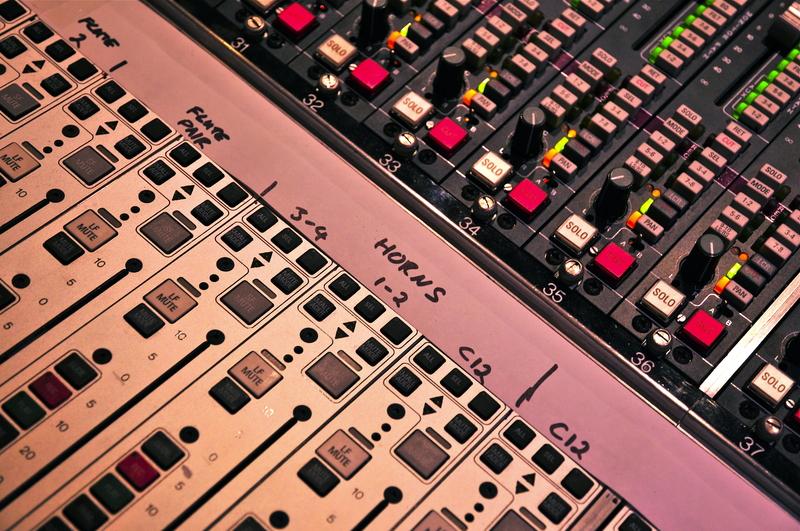
Audio mixing has become a popular way of creating music in the 21st century. When some people think of audio mixing, they imagine a giant studio that features enough knobs and faders to make the average person spin. Of course, they’ve probably seen the extravagant mixing studios used by Calvin Harris or David Guetta.
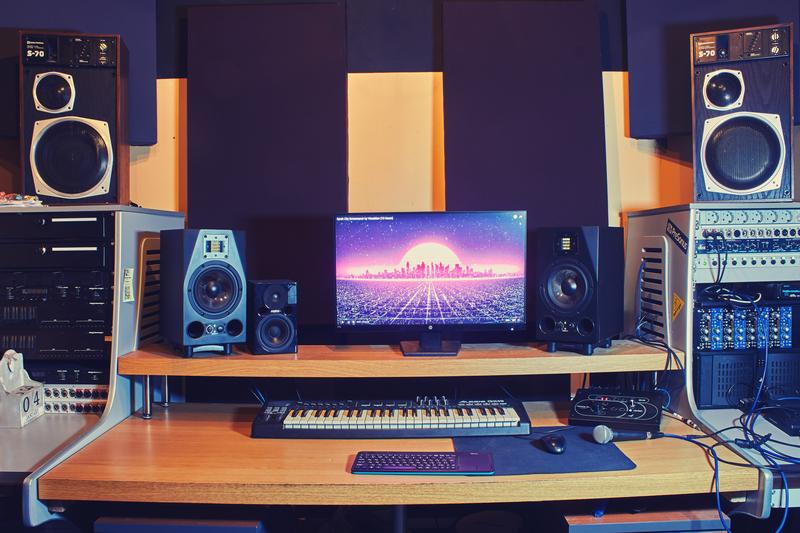
Here’s the thing: you don’t need a swanky studio to mix audio; you can do it from your bedroom with simple tools like Pro Tools, Logic, Steinberg Cubase, or Garageband. In essence, you’re doing the same thing as a professional mix engineer, but without the expensive studio.

In this article, we’ll take a deeper look at audio mixing and how you can learn:
What is Audio Mixing?
Let’s begin with the basics: audio mixing is the process of editing and balancing recorded audio to create a blend of sounds on a single song.
If you’re currently in the mixing stage, you’ve already tracked your instruments, i.e guitar, bass instruments, drums, strings, vocals, and keyboard. Moreover, you may have already created audio tracks with MIDI-controlled software synthesizers.
But, no matter what instruments you use, mixing comes after tracking. You’ll do the following things when you mix:
- Cover a vast range of frequencies to ensure the sonic palette sounds full. You can enhance this with EQ effects and plugins.
- Balance the audio levels so you can hear all the instruments at their desired volumes. You can achieve this with compression plugins.
- Remove any mistakes that took place during the instrumental tracking, such as de-essing or AutoTube on vocals, or using EQ to remove the squeaking of guitar strings.
- Place effects to dry audio tracks, including modulation, reverb, and distortion/overdrive.
Of course, audio mixing—like any skill—can take some time to master. So take your time and enjoy the process.
5 Tips to Learn Audio Mixing at Home
Audio mixing can feel tricky at first because it’s a product of trial and error. Simply, the more mixes you do—the more you’ll learn.
However, that said, here are some tips to avoid some of the common issues you may encounter when mixing audio at home:

1. Add Compression But Don’t Overdo It
If you need to add depth to your music to make it fill the room, compression is an excellent option. However, don’t overuse compression because it can deaden a mix.
Compression works by reducing the volume of your loudest signal and then raising the overall volume of everything, which effectively makes your loud sounds quieter and your quiet sounds louder.
If you use too much compression, however, you’ll lose any volume changes and make the music dull. Therefore, ensure you can hear everything on the track, but not so much that it becomes a monolithic blob.
2. Pan Your Instruments
Some new musicians make the error of placing every instrument in the middle of a stereo mix. But you can avoid this by using subtle planning to push certain instruments to the right or left of a sound, making the sound of each instrument more distinct to the listener.
3. Test Your Audio Mix On Various Speakers
If you’re mixing while using top headphones or subtle monitors, that’s excellent for adding nuance and detail to your music.
However, the problem is many listeners may not play the track back on nice speakers or headphones. So you must always consider how your audience will hear the music on different equipment.
For example, will they listen on a car stereo, laptop speakers, earbuds, or a TV soundbar? Ensure you’re listening to the mix on the medium your listeners will likely listen to it.
4. Reverb is Awesome, But Don’t Let It Ruin a Mix
With today’s finest technology, it’s easy and probably best to get a reverb-free, dry recording of any instrument. Then, you can add a reverb after the mixing stage.
This effect can be magical, creating the feeling of a spacious recording studio or a concert hall when you recorded the music in a clothing closet.
However, you only need to use a little reverb to get the best results—just like compression. If the vocalist has a message to achieve in her lyrics, you shouldn’t drown the lyrics out with some muddy reverb.
You only need to add enough reverb to create an atmosphere without losing definition and precision.
5. Use a High-Pass Filter, But Keep It Simple
Adding bass can sound great on your songs. However, adding too much bass can make it challenging to hear individual parts of the song. That’s why you should apply a high-pass filter to cut specific low frequencies and allow higher ones to come through.
As a result, you’ll bring clarity to your audio mix; many plugins and EQ effects have a high-pass filter option built in.
What Are The Differences Between Music Mixing and Mastering?
The final stage of the recording process is mastering, Unlike audio mixing—whereby an audio engineer works on each instrumental track comprising a single song—mastering involves working with a finished mix. That usually means a two-channel stereo track (a right channel and a left channel).
But for home theatre mixes, the finished product might need six to eight tracks to account for certain things like surround speakers and subwoofers.
Furthermore, mastering engineers add minute amounts of compression, EQ, and limiting to make a final mix consistent with today’s radio, film, and TV standards.
Typically, this means making the track as loud as possible without ruining the original mix and its nuance.
A Step-By-Step Guide to the Mixing Process:
To make your song ready for the radio, you’ll need a mixing process. Luckily, we’re going to help you with 8 steps. These include:
- Step 1: Prep
- Step 2: Volume Balance
- Step 3: Compression
- Step 4: EQ
- Step 5: Space (Panning, Reverb, and Delay)
- Step 6: Volume Automation
- Step 7: Effects
- Step 8: Final Checks

Let’s start with the preparation step:
1. Prep
Before you can start to audio mix your music, you’ll need to prep your session. And the more organised you are, the faster and better you’ll mix.
In addition, it prevents you from getting overwhelmed by the mess of the audio files. An excellent prep will even boost the quality of the audio. Here are the 12 steps involved with pressing your season:
- Arrange your instruments: It’s always a smart idea to order your instruments the same way before every mix. It’ll make your tasks easier.
- Relabel tracks: Make sure your tracks are labelled clearly to avoid any confusion
- Colour code the tracks: Extra points if you colour code your tracks the same way for every mix. That’ll help you find things quickly.
- Delete unwanted and empty tracks: If you’re not going to keep tracks in the mix, they don’t need to be in your mix. So remove them to make your life easier.
- Hide unused tracks: You should always hide any unused tracks if you want them in your session for safekeeping.
- Send your instruments to busses: Having everything under one fader will boost the speed of your audio mixing, resulting in more music production.
- Insert fades and crossfades: It’s always a smart idea to add fades and crossfades to your music, and 10 ms at the start and end of songs should be enough.
- Input tempo data and time signature: If you don’t add tempo data and the time signature, editing and automation will become far harder.
- Create song section labels: Knowing where your choruses are is crucial if you’re mixing them quickly.
- Ensure the buffer size is high: You’ll keep your CPU usage low by setting the buffer size to 1024.
- Import the reference tracks: Find mixes that are similar to yours and listen to them during the mixing process.
Although most of these prepping tips are simple to understand, there are some things we’ll elaborate on.
Busses
Bussing is a key part of audio mixing. It’s when you change the outputs of every recording of a specific instrument to the same “bus.” All of the recordings are then directed to the one aux track you can use to ‘master fader’ the instrument.
You could use this analogy: a school bus picks up each student at their home and drops them off at school. That’s precisely what bussing does with your recordings.
Essentially, you are routing all of your recordings into a single track. From there, any plugins you add are applied to each one of those recordings.
Not only does that help you keep a music track together, but it helps massively cut the number of plugins required to complete a mix. For example, if you had three different acoustic guitars with two microphones—you’d need six different compressors to control their dynamics.
However, with bussing, you only need one compressor instead of six, meaning you’re saving time, going faster, and using way less CPU.
In addition, you’re compressing various parts at once, which creates the nation that all the individual tracks are part of one instrument. If you do this with all of your instruments, your mixes will become faster and sound better!
Crossfades
You’ll probably encounter the phrase crossfades when you start audio mixing. If you’re splicing together two audio regions together, you’ll need to apply a crossfade. A crossfade will fade out on the audio clip on the left as it fades in the clip on the right.
Therefore, any tracks you’ve cut together will transition smoothly. Without using a crossfade, you’ll often hear a nasty pop where the two audio regions meet. Use around 10 ms when creating crossfades; that should be enough.

Gain Staging
In the 1960s, when The Beatles were taking over the world and before computers had sound consoles to mix their songs, you had to record your songs at a certain volume to ensure they didn’t sound overly noisy.
Today, most of the mixing tools you’ll use are EQs, reverbs, compressors, etc. The point of gain staging is to ensure your audio is at the right volume to hit that sweet spot, which is 0 dB VU.
2. Volume Balance
The most powerful tool in your audio mixing toolkit is the volume. In fact, the volume balance of your mix is the most important step to making your song radio-ready. To get the best volume balance, try the following steps:
- Look for any channels that are peaking. Then, reduce the gain with a gain plugin.
- Loop the most prominent section of a song.
- Turn all your faders down.
- Listen to some reference tracks to prime your ears.
- Decide on the most important channel, such as your vocal or snare
- Bring in the second most crucial channel, and balance the volume with the first channel
- Continue in the same manner, but bring the channels up in order of importance
- Take some breaks and listen to the audio again. You’ll probably find some final tweaks before finishing.
- Once you’ve completed your initial audio mix, play the music from the start and automate the volume of each instrument to fit.
- Check out the bass volume and whether it balances.
The volume balancing process is simple, but it’s highly effective.
3. Compression
Compression will level out the dynamics of an instrument and shape its tone. In layman’s terms, it compresses the volume of an instrument. You should always use a compressor when an instrument becomes too loud.
Musicians use compression all over mixes to make tracks seem more exciting, consistent, and cohesive. In addition, compressors are subtle—but they make a huge difference in your audio mix. However, always be aware that compression is different depending on what genre you’re mixing.
Some genres use heavier compression—such as rap, pop, and rock—but others barely use any compression like classical, jazz, and folk. So keep this in mind when you’re learning to compress your music.
4. EQ
An EQ is an important mixing tool that shapes the tone of any instrument. It’s essential for creating a mix that fits together. Although that may seem a little vague now, stick with us. First, you’ll need to understand the frequency spectrum.
You can create music with different sound waves interacting with each other in unique ways. Each individual sound wave is called a frequency, which is measured in hertz.
The lower the pitch of the sound, the lower the hertz of that sound. A bass player, for example, might play a note that’s around 50 hertz.
In contrast, the higher the pitch of a sound, the higher the hertz of that sound. A violin, for example, may play a note that’s around 2,000 Hz, or 2 kHz.
But what is the frequency spectrum? It’s simple: the frequency spectrum is the complete range of human hearing.
With all that said, what does an EQ do? An EQ is similar to a volume fader for your frequency spectrum. It can turn up or down different parts of the spectrum, resulting in a change in the tone of the instrument. Is the guitar sounding too bright? If so, it may need a cut in the upper mids.
Are the vocals too weak? If so, the vocals may need a boost in the low mids. EQing is making these cuts and boosts in various instruments to enhance the song. It’s a key part of audio mixing.
5. Space (Panning, Reverb, and Delay)
By now, you may have created a pretty decent mix with volume, EQ, and compression. But, perhaps the instruments feel like they’re competing for space. That’s not uncommon, especially at this stage.
But here’s what you can do.
Panning
Panning is moving an instrument into the right or left speaker, enabling you to make your audio mix two-dimensional. As a result, you can spread out your band to the left and right sides of the stage.
To move something towards the left, you should turn the knob to the left. In turn, to move it towards the right, turn the knob to the right. It’s really that simple.
Reverb
Reverb is the sound of the room. When you add reverb to an instrument, it sounds like it’s in a new space. That could be in a big concert hall, a closet, or a tiny bedroom; it doesn’t matter. It builds a wall of sound behind the instrument.
In addition, reverb also creates an illusion that the instrument is further away from the listener. Therefore, the instruments at the back of the stage should have a lot more reverb, but the instruments at the front of the stage should have less.
Delay
Delay is much more accurate than a reverb. It’s merely one repetition after another of the instrument’s notes. You could compare it to the echo you hear when you yell into the Grand Canyon.
The delay is excellent at creating space around the instrument without pushing it back into the mix. Also, it’s superb for vocals that you want to keep as the focal point of the song.
6. Volume Automation
So far, the section you’ve looped in probably sounds great. You might be feeling happy with it. However, listen carefully. You’ll probably realize that each section sounds weird because you’ve made your volume balance to fit the song’s loudest section.
Therefore, you need to listen to the song from the beginning to the end to determine whether the volume isn’t consistent throughout. You can use volume automation to achieve this.
But, before you start, listen to your reference tracks again. You’ll want to refresh your ears when you start creating the volume balance for the whole song. However, that’s fine because the process of volume automation is simple anyway.
You’ll need to open your automation channel and create points around the sections that you want to make louder. In turn, that’ll pull the instrument’s volume up.
Ensure you spread the slope of automation out to make the transition model for the musical. Also, spread the slope of the automation to make the transition feel more musical.
7. Effects
It’s time to add something fun now your entire song is looking well. Effects are a superb way to give your song a tonal edge, helping the listener build interest in the sound of the song instead of the song itself.
There are tonnes of different effects you could use. Many people will use delays as effects; you can set these wherever you want and for whatever length.
Another popular effect to add to your mix is distortion, often called saturation. You’ll often see this on electric guitars, drums, and vocals.
You can use this either as a send—such as a reverb or a delay—or directly onto the channel. In general, it depends on how aggressive you want to be.
Furthermore, a chorus effect makes an instrument sound like it’s doubled. It’s like swimming underwater if you use it aggressively. A prime example is Come As You Are by Nirvana.
8. Final Checks
Now you’re all but done. It’s time to go through your mix with a fine-tooth comb and make sure everything is superb. During your final checks, anything is fair game. You might need to change the composition of the bass, the EQ of a guitar, or add more reverb to the vocals.
However, we have one more crucial step. Some of the tools in your mixing toolbox will affect the sound of the other tools. For example, compression typically changes your volume balance because it makes softer sounds appear louder.
Likewise, adding distortion to a sound could make it seem too harsh, resulting in taming the top end of your EQ.
Here are a few tips to master the final steps effectively:
- Don’t forget your reference tracks: you should listen to your reference tracks every 15 minutes to ensure your mix matches the sound of a professional mix. You’ll likely find more problems in your mix when you do this, meaning you can fix those problems and improve your music.
- Give yourself a 12-hour break: You should let your ears reacclimate to the sound of the world; you’ll hear more issues with the music when you do this.
- Take notes: listen to the song from the beginning and take notes at any places where you can improve.
Is Mixing Music Hard?
When you’re first starting out, mixing a song can be challenging. There are also many things involved with mixing music.
1. Too Many Unnecessary Tracks
The nice thing about modern song recording is that it makes it easier to record. Although DAW allows you to capture many tracks at once, that’s not always a good thing.
Unlimited multitrack recording can be a distraction because many of the songs won’t contribute to what you’re trying to make.
2. Not Enough Mixing Experience
Excellent mix music takes experience. You won’t become Calvin Harris overnight; in fact, you’ll need to study audio engineering through various courses before you can master it.
Before that, mixing music will probably feel challenging.
3. Mastering The Volume
Balancing the volume of the music is one of the hardest things beginner audio mixers struggle with. It takes time and patience to understand how to balance the volume.
So don’t be worried if your songs sound weird for a while because all the sounds have a bad balance.
Is Mixing Harder Than Mastering?
Mixing and mastering are both challenging to learn. However, mixing is harder to master because it requires a lot more skill and knowledge to perform at a high level. But both can be difficult to fully grasp.
How Long Does it Take To Learn Audio Mixing?
The time it takes to learn how to mix audio depends on your work ethic and the content you use to learn. You could learn to mix music in weeks/months if you use an online music production course and dedicate yourself.
Common Mistakes When Mixing Audio
1. Too Much Bottom
One of the biggest mistakes new musicians make when mixing audio is using too much bottom. The average bedroom studio lacks basic acoustics. As a result, you’ll hear uneven bass responses across the spectrum. That can exaggerate notes and leave others inaudible, translating into a muddy, poorly balanced audio mix.
2. Terrible Treble
Another major mistake musicians make when they’re first starting out is using poor treble. High frequencies often come when creating music. However, this can be challenging to discern in a typical project studio. Therefore, you need to use your EQ wisely. You can also de-ess your vocals and your hi-hat.
3. Lacking Dynamic Range
For many years, one of the most talked about topics in the audio engineering world is the lack of dynamic range in many audio mixes. The music industry defines dynamic range as the difference between the softest and loudest parts of your music.
To perfect your dynamic range, your source material needs enough left-over dynamic range to acclimate the processing. If you over-compress your material, you’ll rob your mastering engineer of the resources they need to do their job.
4. Poor Planning
A lack of planning is another problem for people learning how to mix audio. For example, key elements like the snare, lead vocals, and bass, should be panned centre. However, panning too many tracks near the centre creates a cluttered sound. But you can overcome this with proper planning.
Learn Audio Mixing Today
Learning how to mix audio is crucial for becoming a great musician. The best way to clean audio mixing is through an online course. With professional guidance from professional musicians, you’ll pick up the ins and outs of music production from the comfort of your home.
There are many audio mixing techniques, including to learn from. But you’ll learn these in the music production courses. We can also help you with soundscape composition and Ableton live.
From the blog

Rockstars in Training: The Best Kids’ Electric Guitars for 2024

Redefining Your Riffs: How Electric Guitar Strings Shape Your Sound


